The Lemosho Route | Kilimanjaro National Park


Unlike other trails, the Lemosho Route starts at a very low altitude. It is a long and difficult, but it is lets you gain elevation gradually and introduces you to mesmerizing natural beauty at every step.
An easier alternative to the Shira Route
Approaching the mountain from the west, the route begins with a long drive from Moshi. The minimum duration for this route is six days, but 8 days is ideal, so climbers get time to get acclimatized and enjoy the panoramic views from multiple sides of the mountain.
Antelopes, buffalo and elephants can be seen on the lower slopes
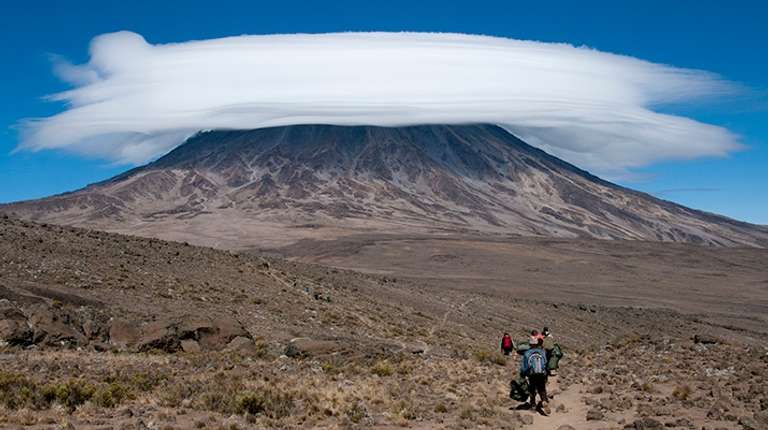
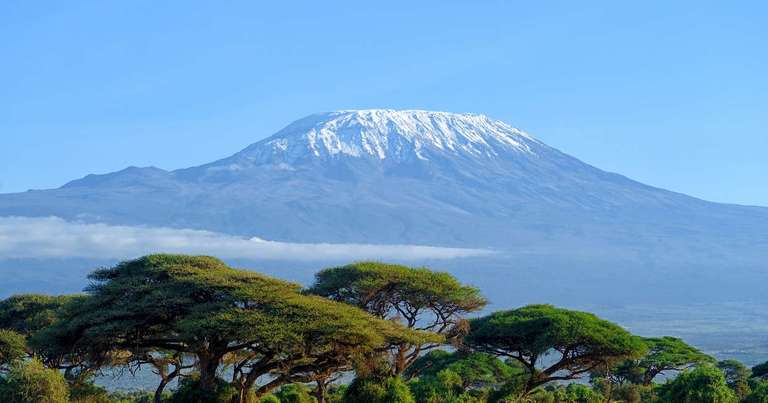
During the first two days of the trip, trekkers traverse through beautiful rainforests, where small animals such as the Colobus and blue monkeys are visible. In comparison to the Machame route, which simply intersects the Shira Plateau, Lemosho crosses the Plateau from east to west, providing marvelous views of Kibo Peak.

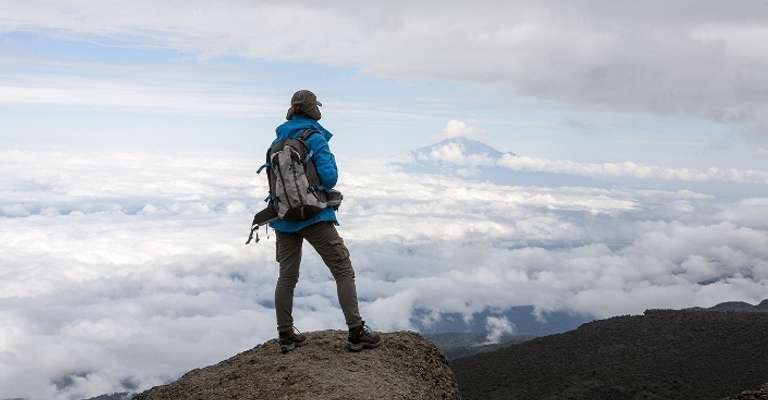
Scenic views with relatively low traffic
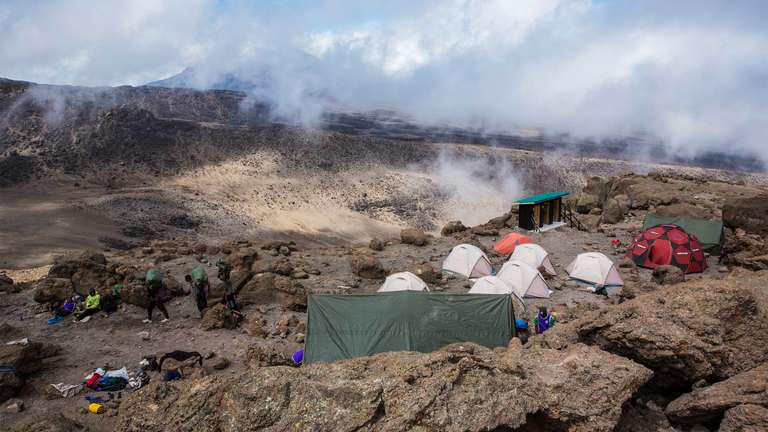
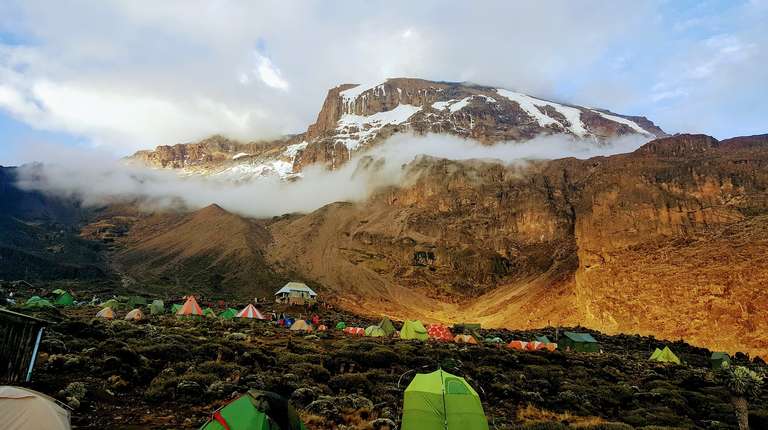
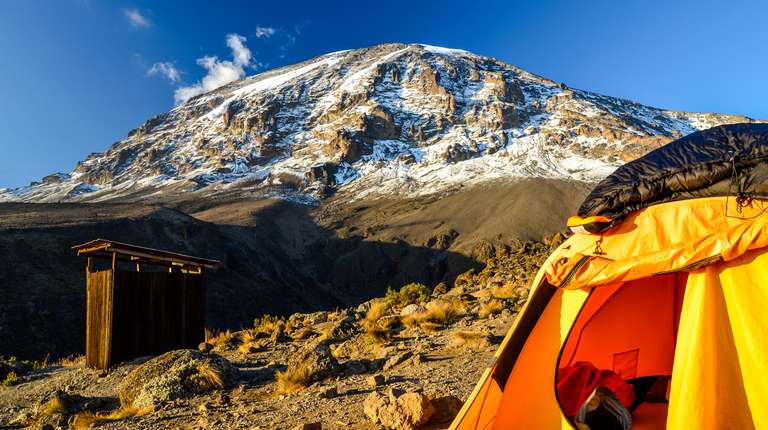
Other attractions that can be explored while trekking the Lemosho Route include the Lava Tower, where climbers get to enjoy panoramic vistas and the Great Barranco Wall, which presents a difficult and thrilling challenge. Climbers will rest overnight in tents and after reaching the summit, the descent is made on the Mweka Route (designated descent trail for the other routes).
Extremely high success rates
After a few days of climbing, the Lemosho route 7 days itinerary merges with the Machame route all the way up to the summit and the descent down Mwaka. Due to the extra days on the lower altitudes, this is the best trek in terms of acclimatization.
- Sahir
- From India
- Sahir
- From India
- Sanjukta Banerjee
- From India
- Sim0r
- From Germany
Lemosho Route Ratings
| Trek Difficulty: | Moderate – Difficult |
Scenery: |
Most scenic route | |
| Success Rate: | High |
Price: |
Relatively expensive | |
| Max Altitude: | 5,895 metes | Popularity: |
Third most popular route attracting 8% of the climbers |
|
| Trek Duration: | 8 Days | Difficulty: | Moderately difficult | |
| Best Season: | Round the Year | Crowds: | Expect few crowds as its remote | |
| Accommodation: | Camping |

Pros and Cons
Pros:
- High success rates
- Beautiful and scenic
- Relatively untouched and remote
- Excellent opportunities to acclimatize
- Offers the option to hike the Shira Plateau
- Possible to spot wildlife on the lower slopes
- Fantastic views of the gorge located on the western side of Mt. Kilimanjaro
Cons:
- Fully catered camping only
- Trekking the Lemosho can turn out to be an expensive affair
Lemosho Route Itinerary
The following is a sample itinerary to help you understand what to look for while choosing the Lemosho Route 7 days itinerary. Your actual itinerary may vary depending on the travel agency you choose.
Day 1 – Trek to Forest Camp (3 – 4 Hours)
Depart Moshi and arrive Londrossi Gate after a 4-hour drive. Complete registration formalities and proceed to Lemosho Trailhead. Your trek begins here after lunch and you navigate dense rainforests till you reach Forest Camp. Watch out for colobus monkeys. They tend to make an appearance after lunch.

Day 2 – Trek to Shira Camp 1 (5 – 6 Hours)
Head deeper into the grasses and savannah as you proceed to Shira Camp 1, passing beautiful hills and serene streams. Make sure you catch the views of Kibo from the plateau after reaching Shira Ridge. They’re among the best that this route has to offer.
Day 3 – Trek to Shira Camp 2 (5 – 7 Hours)
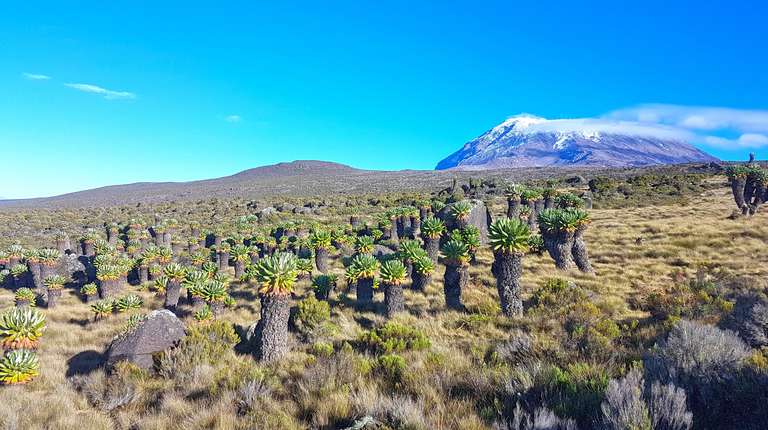
You finally start leaving the rainforest behind as the heather moorland zone welcomes you with open arms (well, almost). Cross beautiful streams and navigate an entire plateau to finally reach Shira 2 (3840 meters). You also get to choose from a number of walks on Lent Hills, one of the best ways to acclimatize yourself to the thin mountain air. Be prepared for colder temperatures moving forward, especially at night.
Day 4 – Trek to Lava Tower, and then onto Barranco Camp (4 – 6 Hours)
You head east up a ridge till you pass a junction and move closer to Kibo Peak. Your direction slowly changes to the Southeast as you inch closer to Lava Tower (4630 meters), a mesmerizing formation famous for its views. You proceed onto the Arrow Glacier before heading down to Barranco Hut (3950 meters) for the night.
Day 5 – Trek to Karanga Camp, onto Barafu Camp (8 – 10 Hours)
Walk past a steep ridge and pass the Barranco Wall to reach the campsite Karanga Valley. Rest here for a while. A short walk brings you to the junction that connects your trek to the Mweka Trail. Trek up to Barafu Hut and set up camp for the night. Rest your aching limbs and prepare for the big day.
Don’t forget to check out mesmerizing views of Kibo and Mawenzi peaks from your vantage point.

Day 6 – Barafu Camp, Summit Climb, Back to Mweka Hut (7 – 9 Hours Ascent, 4 – 6 Hours Descent)
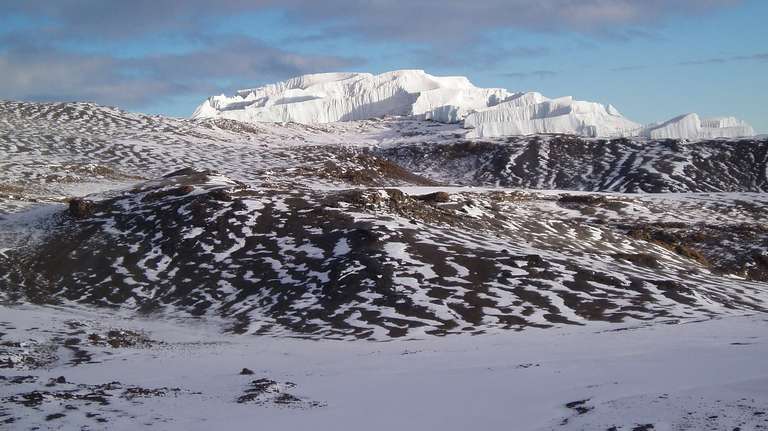
The most challenging day of your trek is also the most rewarding one. This is when you wake up at 2 AM and prepare for the summit climb. This is when you get closer to Arctic like habitats and untouched lands. Head in a northwesterly direction towards Stella Point, crossing the most physically and mentally challenging area of your trek.
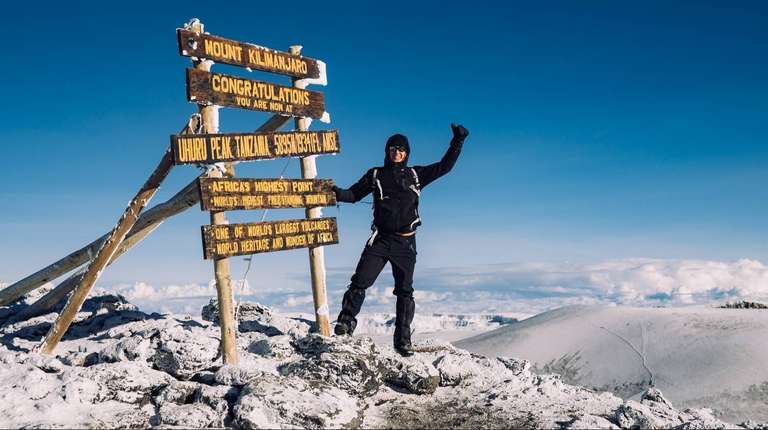
Rest at Stella Point and enjoy the most mesmerizing sunrise views you’ll ever see. Uhuru Peak lies just 1 hour away, and you can trek all the way to get your name etched in a small list of people who made it to the highest point of Africa.
Descend down to the campsite at Mweka Hut, stopping at Barafu for lunch. Mist and rain can be a common nuisance in the late afternoon, but nothing takes away the pride and joy that climbers feel on summit day. Rest for the night and enjoy some much-needed and well-earned sleep.
Day 7 – Mweka Camp to Moshi (3 – 4 Hours)
Descend to Mweka Park Gate and collect your summit climb certificates. It takes another hour to reach Mweka Village from the gate. A driver will pick you from the village and drop you to your hotel in Moshi.