The Rongai Route | Kilimanjaro National Park


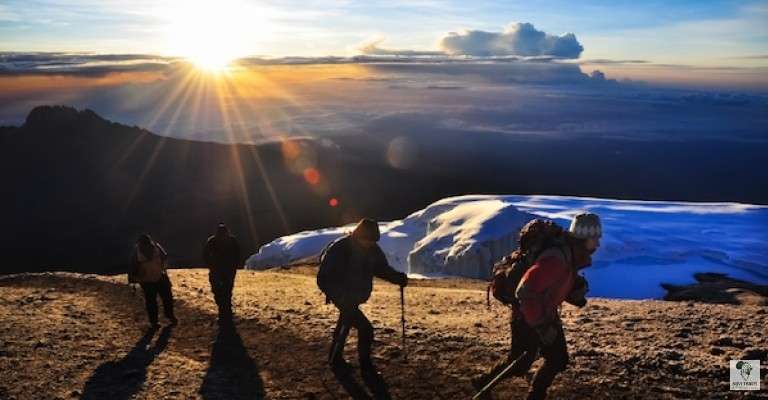
Starting near the Kenyan border, the Rongai Route is the only approach that starts from the north of Mount Kilimanjaro. It is considered one of the easier routes with a gradual climb to the summit.
A remote alternative to the crowded Marangu
While Rongai takes a minimum of six days, a seven-day itinerary is recommended as one day should be spent for acclimatization. The scenic diversity is not as great as the western routes, but Rongai is the only route in which you get to experience African wildlife during the early stages of your climb.
Combines African wildlife with exotic treks
The Rongai route starts at a fair distance from from Moshi, making this route more expensive, as transportation costs to and from Moshi must also be included. The route takes you past pristine rainforests and African wilderness, and despite feeling drier, it’s actually quite scenic and beautiful. Just don’t make the mistake of comparing the scenery to the western routes.
Preferred route during the rainy season
Although the route is gaining popularity of late, climbers who seek a remote hike can expect low traffic. However, the trail will join the Marangu route at Camp Kibo and the descent is common for both routes. If you’re looking for a nice quiet hike up the mountain without having to deal with a lot of traffic, this is the route for you.

- Dikash Kashyap
- From
- Dikash Kashyap
- From
- Sophia Loren
- From Tanzania
- Pooja Kumari
- From
Rongai Route Ratings
| Trek Difficulty: | Moderate – Difficult | Scenery: | Not as scenic as the western routes | |
| Success Rate: | Medium to High | Price: | Expensive | |
| Max Altitude: | 5,895 metes | Popularity: |
Fourth most popular route attracting 5% of the climbers |
|
| Trek Duration: | 6 – 7 Days | Difficulty: | Relatively easy | |
| Best Season: | Round the Year | Crowds: | Fewer crowds due to remote location | |
| Accommodation: | Camping |
Pros and Cons
Pros:
- Fully catered camps all along the way
- Presents an authentic experience in the wild
- Offers clear and uninterrupted views of Kilimanjaro
- Possible to see lots of animals such as buffalo, elephant and antelope
- The slopes are drier, which makes Rongai ideal during the wet season
- The only route to start in the northern side of Kilimanjaro National Park
- The route is flatter during the first couple of days, which allows for easy treks
Cons:
- Limited acclimatization opportunities
- Does not follow the climb high, sleep low rule
- Since the slopes are drier, the surrounding area might sometimes feel less scenic
Rongai Route Itinerary
The following is a sample itinerary to help you understand what to expect when you choose the Rongai Route. The final itinerary might vary depending on the trekking agency you choose to go with.
Day 1: Trek to Simba Camp (4 – 6 hours)
After reaching Marangu Gate and completing registration, you have to navigate 70 kms of poor roads to get to the Rongai Start Point (1950 meters). The trek starts at the Nale Moru village and crosses beautiful maize fields before entering a dense rainforest.
The wildlife on display is spectacular and the trail up to Simba Camp is quite easy.

Day 2: Trek to Kikelewa Camp (7 – 9 hours)
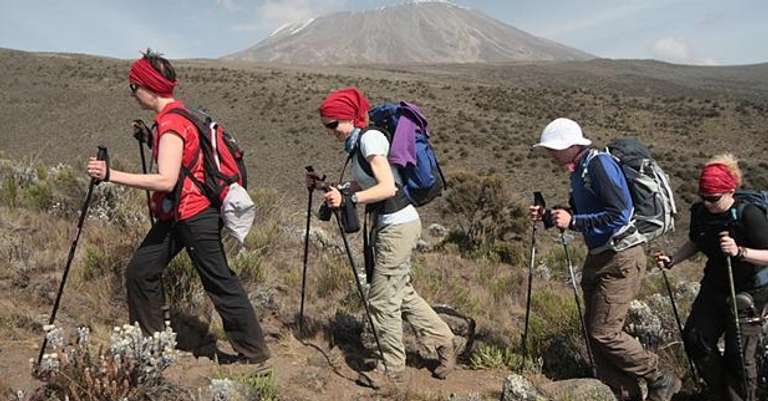
The hike continues through rainforests for a few more hours before you finally see the surrounding vegetation change to grass and shrubs as the rainforest zone gives way to low alpine moorlands. You head east towards Kikelewa Camp (3600 meters) for dinner and stay.
Day 3: Trek to Mawenzi Tarn (4 – 6 hours)
Day three forces you to take a short, but extremely steep climb up to Mawenzi Tarn. Located at a height of 4300 meters, this hidden oasis offers stunning views of the Mawenzi Peak.
Day 4: Trek to Kibo Camp (5 – 7 hours)
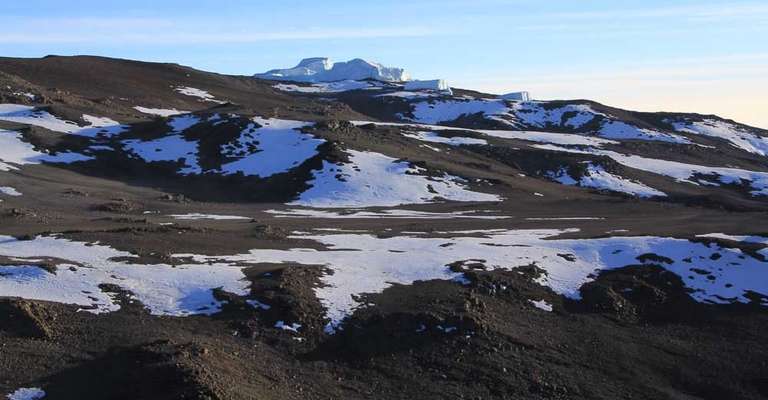
Having spent most of last afternoon acclimatizing to your surroundings, you’re ready to proceed to the next part of your journey. Day four feels long as you gradually head west through a saddle formed between the Mawenzi and Kibo peaks all the way up to Kibo Hut.
The route is rather inhospitable, but it offers magnificent views of Kibo.

Day 5: Trek to the Summit, back to Horombo Hut (11 – 13 hours)
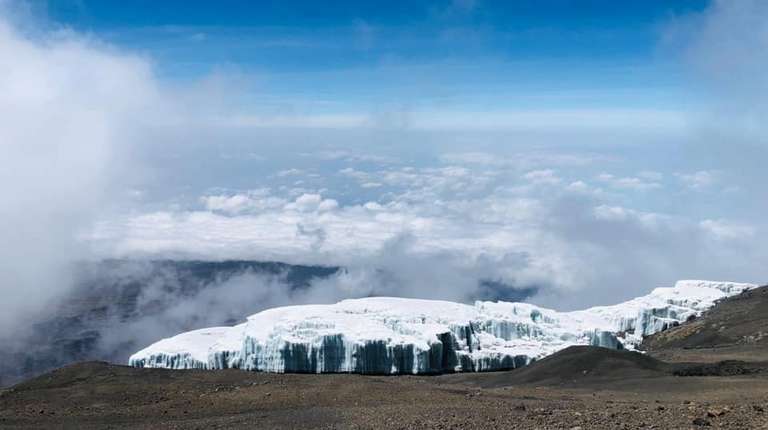
Once you enter the high alpine and glacial zones, you know that you’re close to the summit. Day five begins at the stroke of midnight as you make your way to Hans Meyer Cave (5150 meters). After a short break, you traverse past winding paths and reach Gilman’s Point (5681 meters).
In this very moment, you’re standing on Kibo’s crater rim. Another 200-meter ascent is all it takes to get to Uhuru Peak, home to the most stunning sight in all of Africa.
Day 6: Back to Moshi (2 – 4 hours)
Having witnessed nature at its magnificent best, you must now descend all the way back to Marangu Gate. Use trekking poles to assist you and don’t forget to collect your green or gold certificates (green for trekkers who stopped at Gilman’s Point, gold for the ones who made it to Uhuru Peak).